Now that the cruise is booked and paid for, it is now time to check-in, which means filling in quite a bit of information. This does speed up the process at the pier.
The link above probably won’t do anything for you unless you’ve booked your own Disney Cruise. And the mouse makes you log in immediately in order to see that.
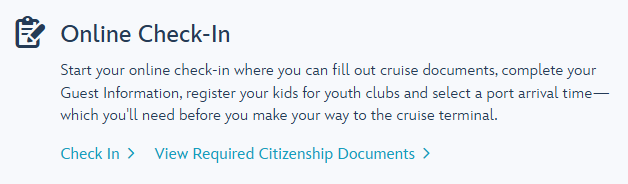
On the page with information about the cruise you will see the following button to check-in.
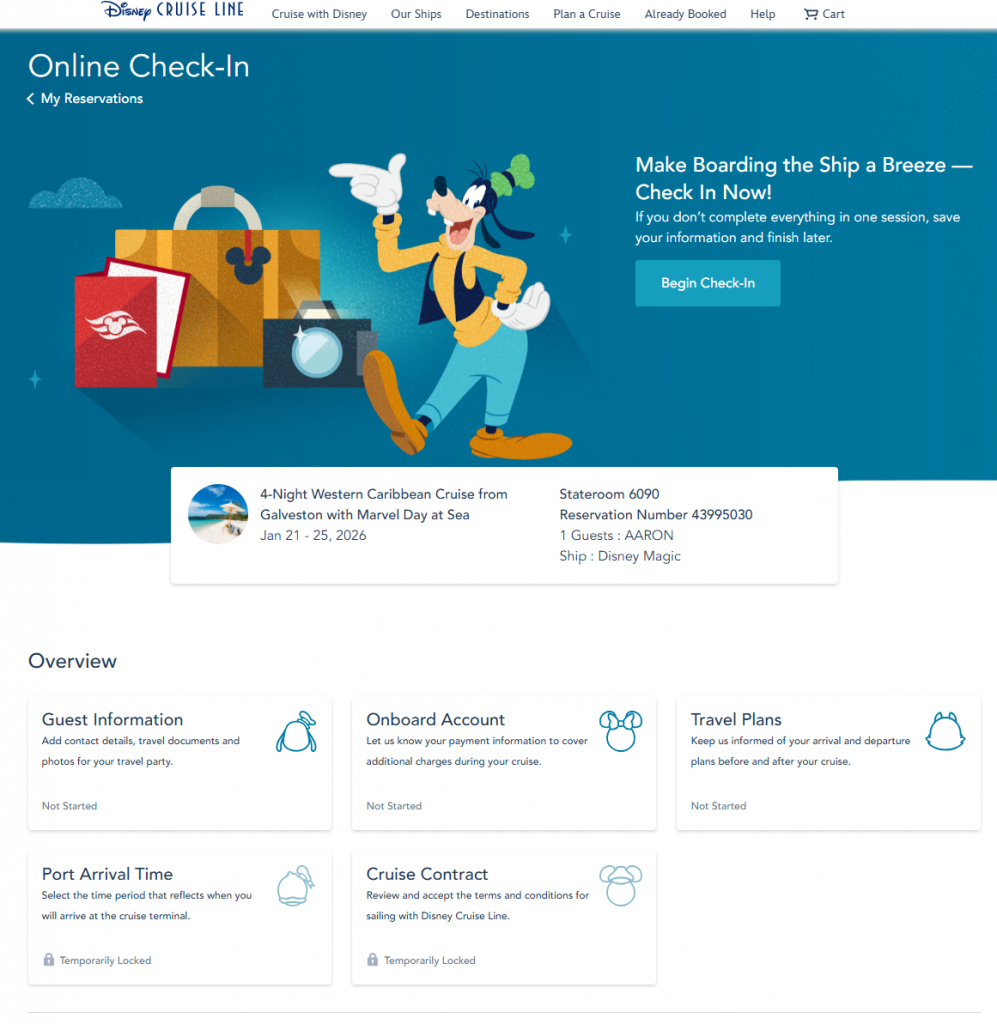
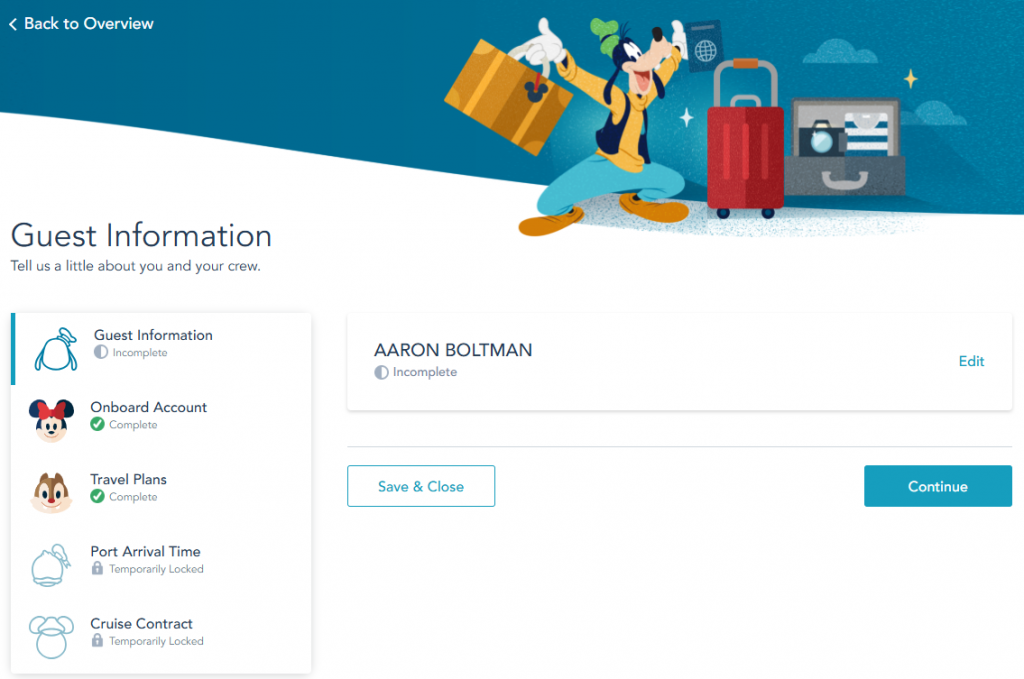
Then you will come to this page with five sections. Guest Information (passport, current photo for security, etc.), Onboard Account (this is where you enter your credit card to use for all your onboard purchases), Travel Plans (your flights – if you have any, or how you plan to arrive and depart), Port Arrival Time (self explanatory, they don’t want 3,000 people showing up at the same time), and Cruise Contract (don’t bring this – walkie talkies, they will throw you off the ship if you do something bad, etc.).
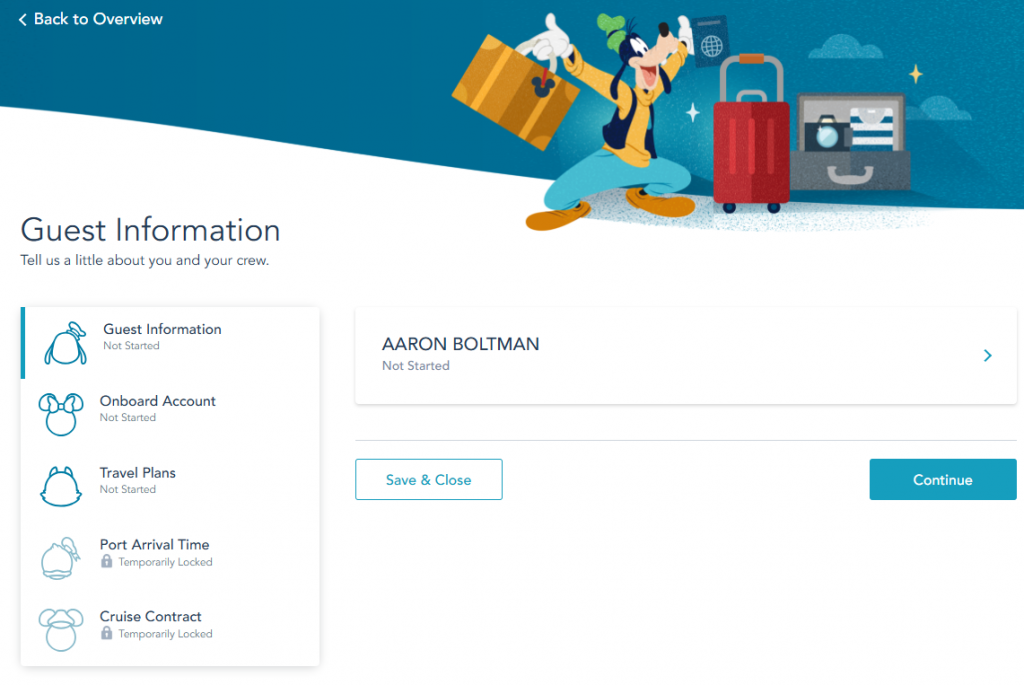
I started in the Guest Information section. The continue button didn’t seem to do anything for me, I had to click on my name.
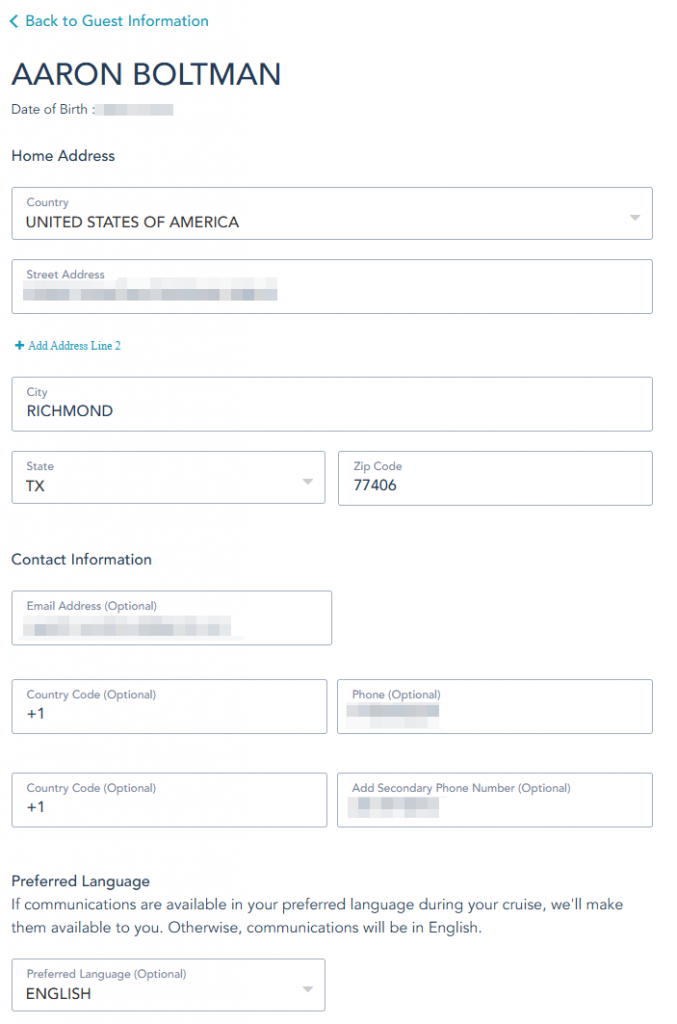
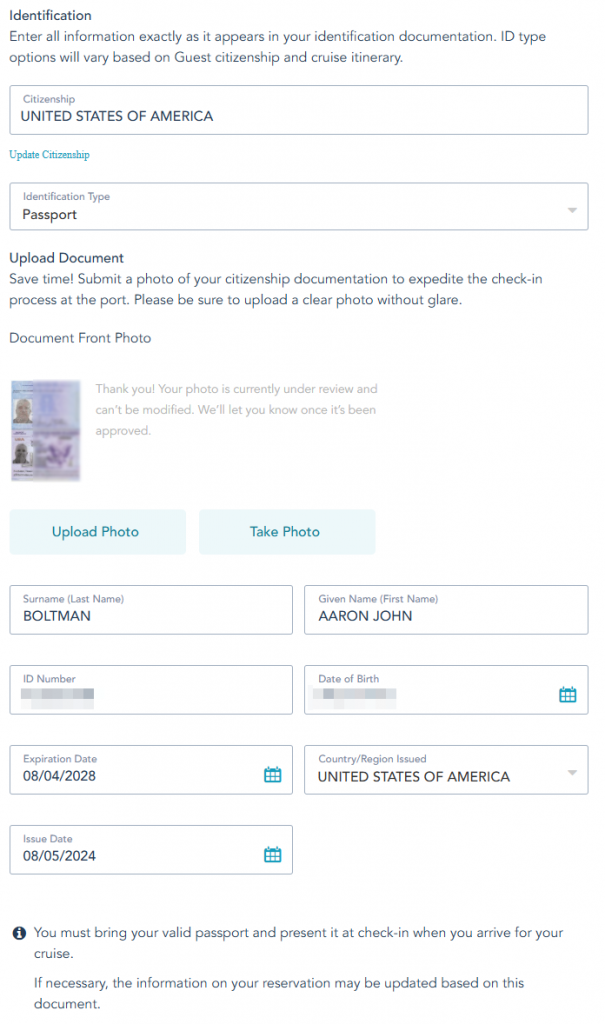
I picked my second passport since it expires sooner in 2028.
They also asked for an emergency contact, but I didn’t take a snapshot of that.
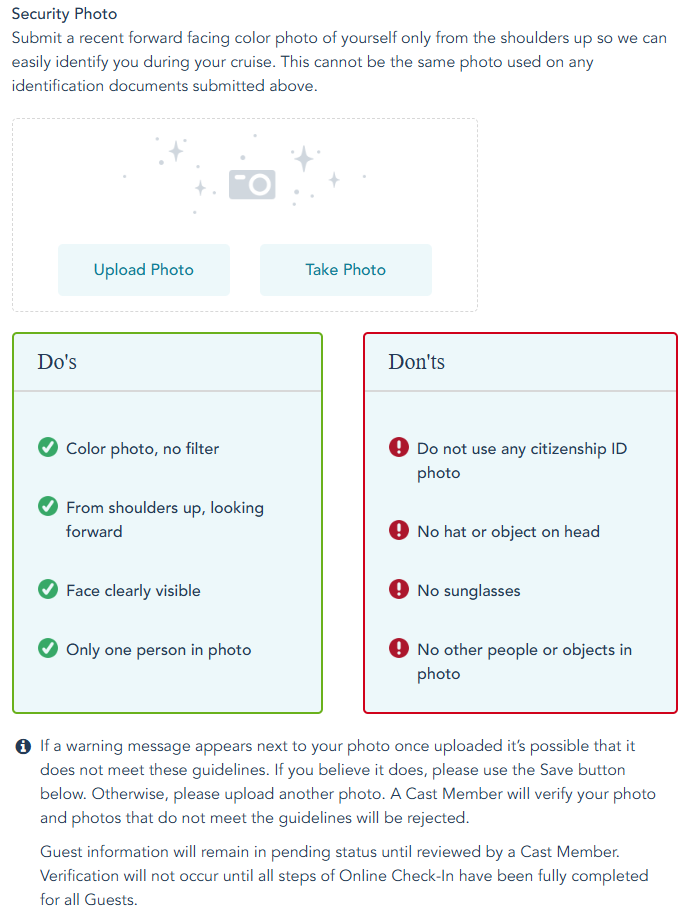
I didn’t take a photo today, I need to shave.
Now when I go back it shows the section as incomplete and I moved on to the Onboard Account section.
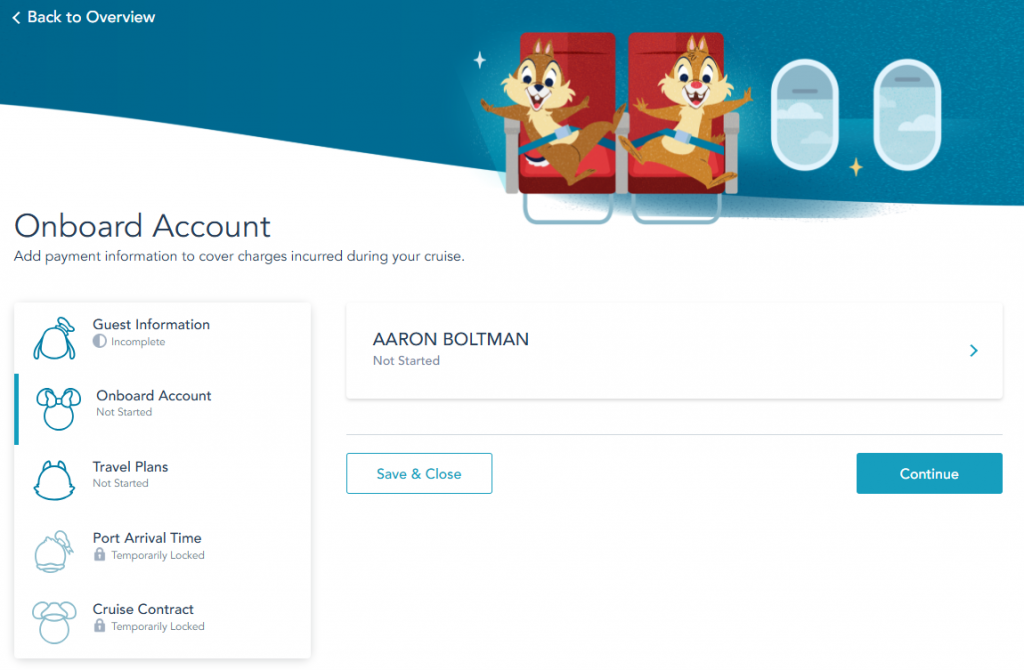
I clicked on my name again, maybe continue would have worked this time, but I didn’t try.
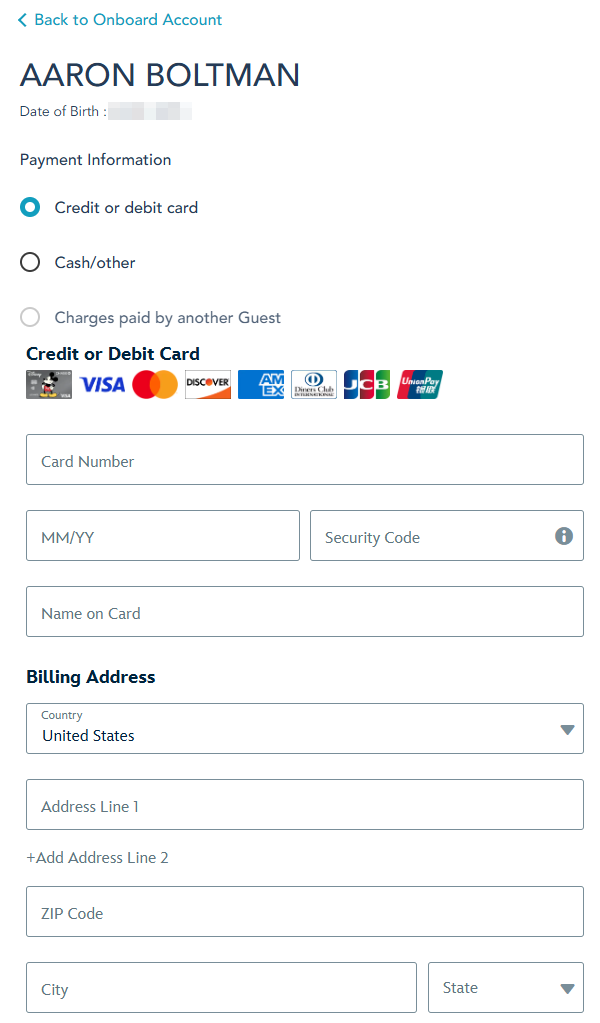
Yep, just your basic credit card form. You can select cash if you really want to. I am assuming you can add money to your account with a Disney Gift Card at the front desk like I have done with Carnival before.

And just like that, the Onboard Account section is complete. And the icon for Minnie Mouse is colored in.
Time to fill in the Travel Plans section.
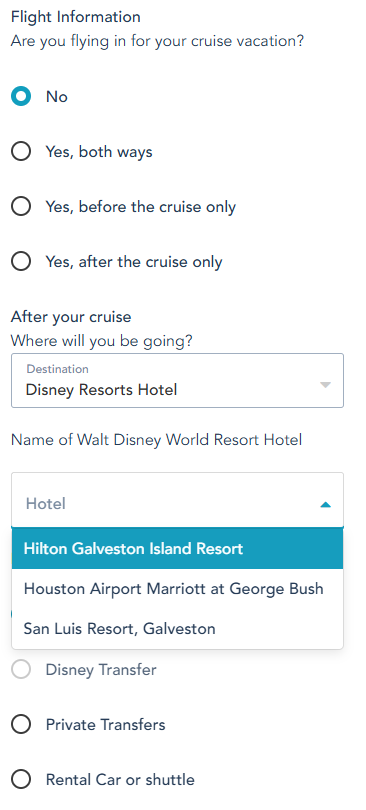
As you can see if you aren’t flying to or from the cruise you won’t need to fill in much.
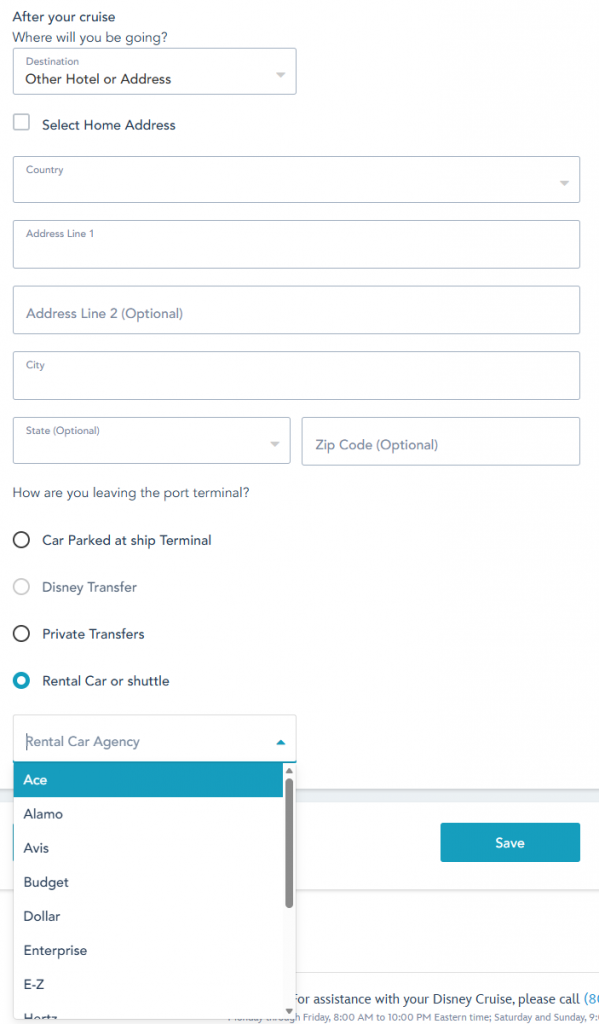
My situation is that I will drive to the port myself since Galveston is a short drive.
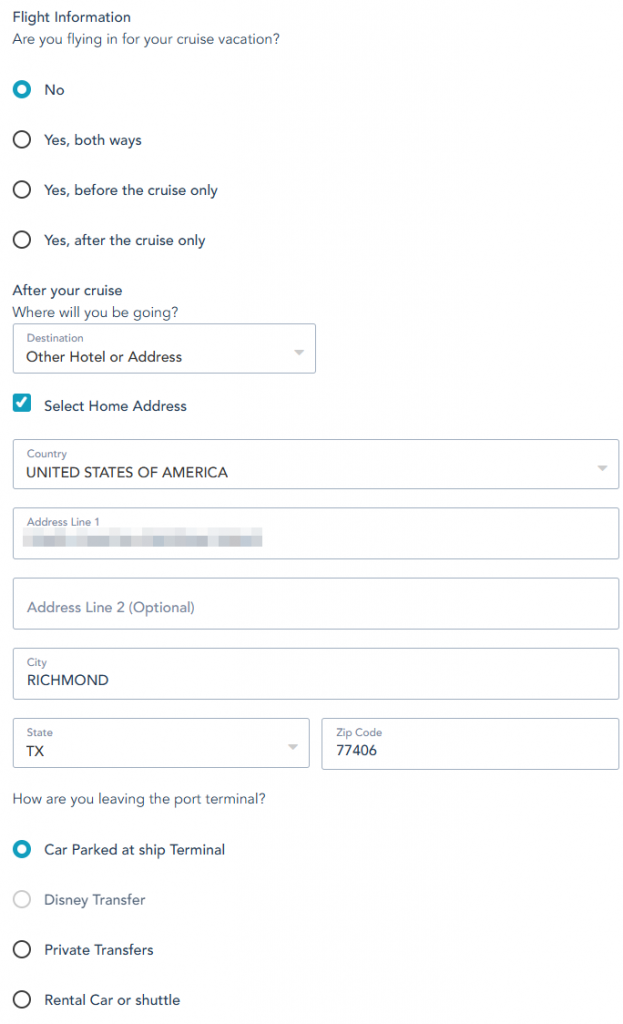
And now the chipmunk icon is completed. It looks like the next sections are locked; probably until I upload a photo.
A quick shave and selfie and I am now back to the Guest Information section to upload my security photo.
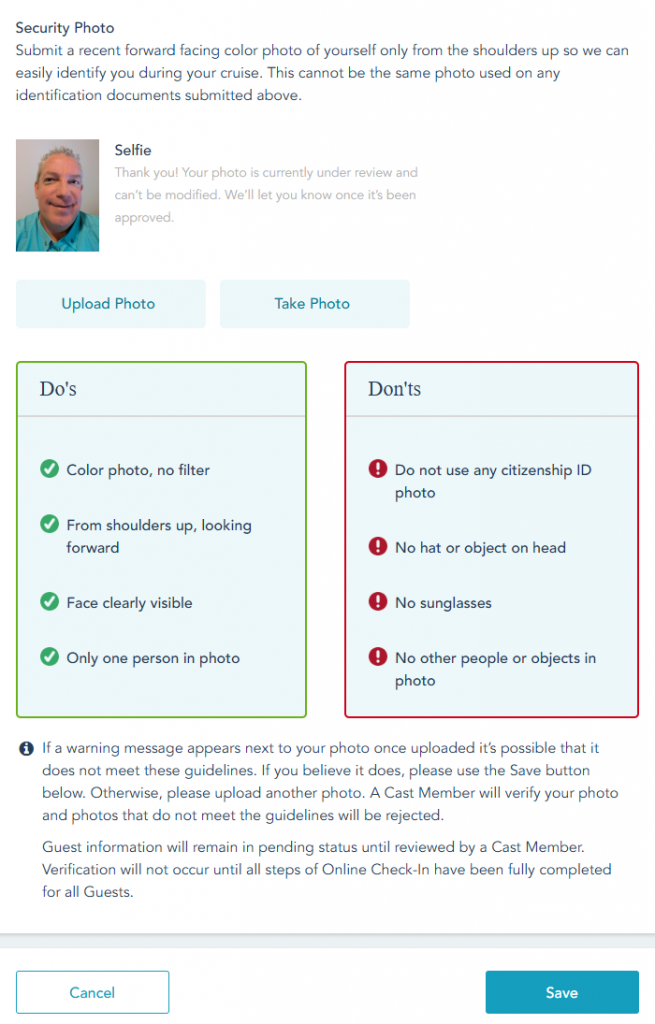
Yeah, I know it looks horrible, but it’s good enough to get me on the ship.
After hitting save, the icon for Guest Information is colored in, and the Port Arrival Time section is unlocked.
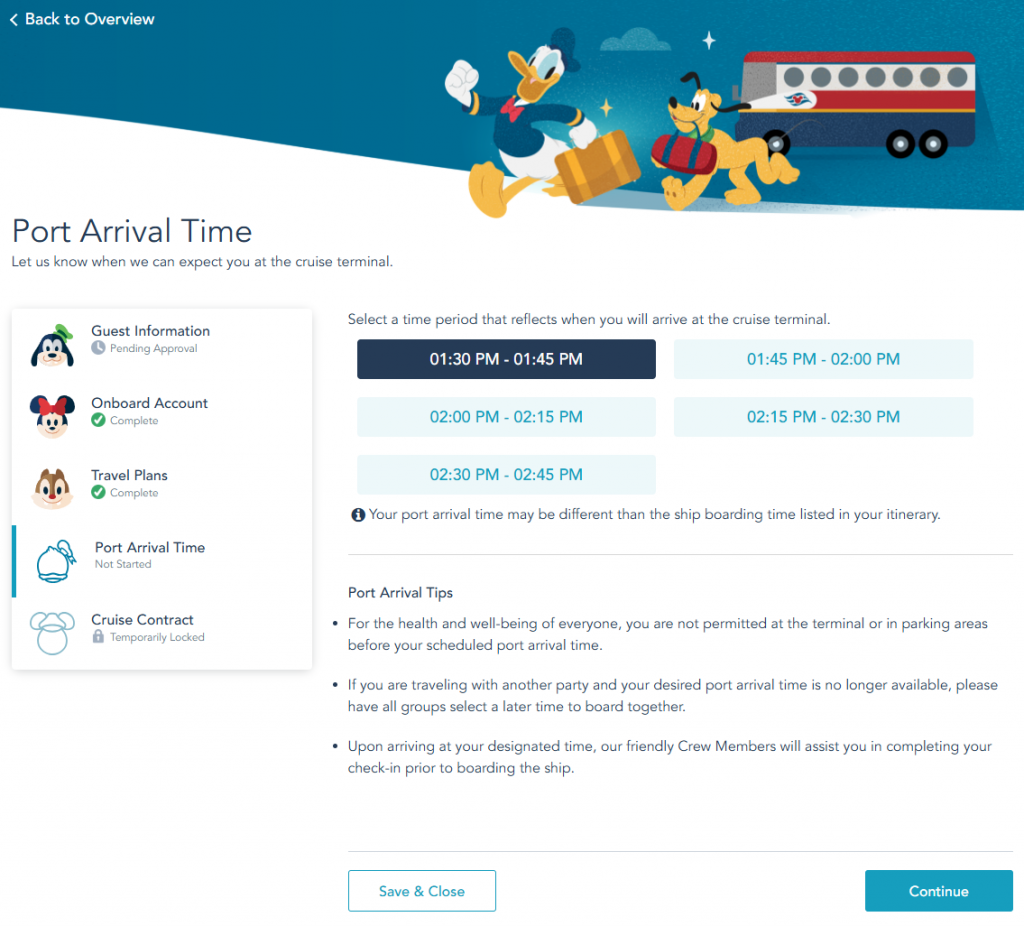
I picked the earliest option available – 1:30 PM. I want to get on the ship as early as possible to start exploring – and get lunch. This isn’t a fancy cruise terminal like Disney has in Port Canaveral, so there will be nothing to see inside the terminal building.
Once this was complete, the Port Arrival Time icon was filled in, and the Cruise Contract section was unlocked.
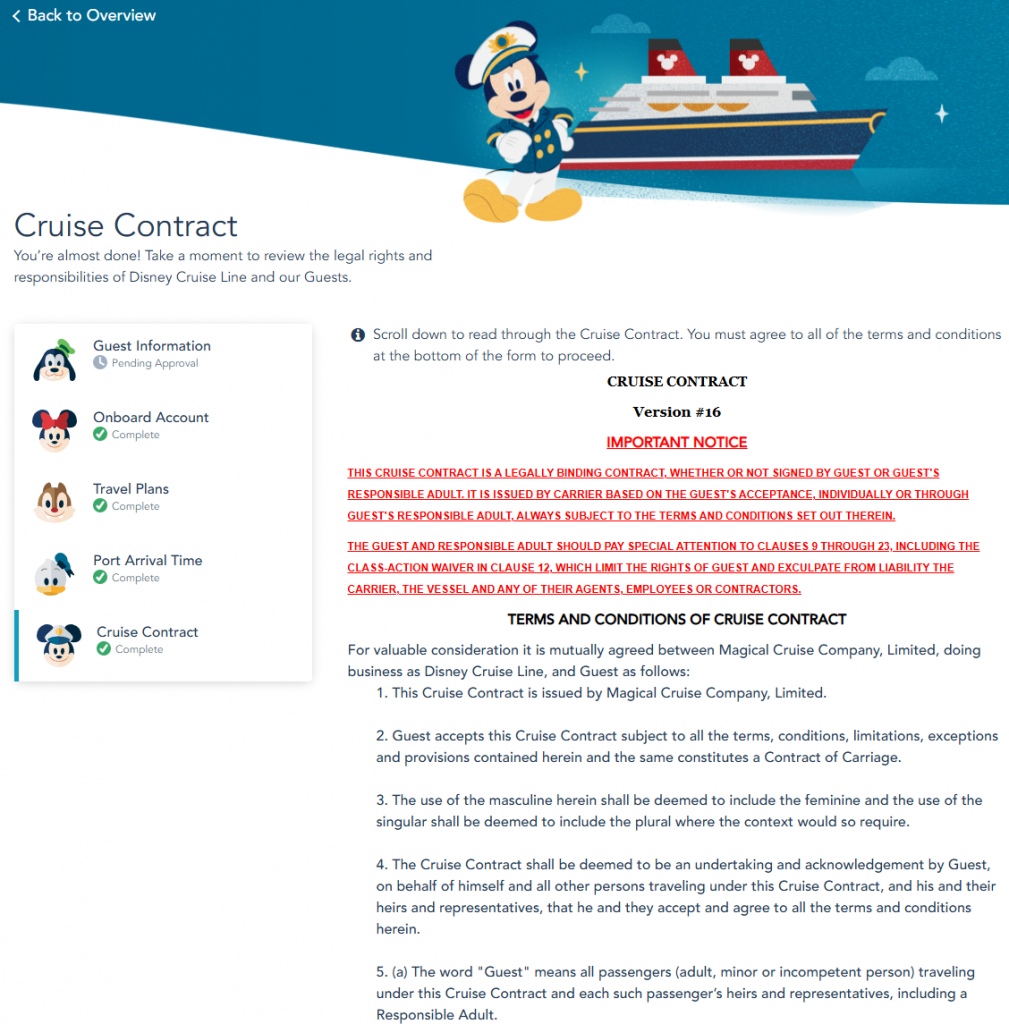
After reading 14 pages written by lawyers and clicking agree the final icon is filled in and you can get the Port Arrival Form (print, email and also digital wallet). If you want to see the full contract, it is below.
And you get to see the screen showing that you are set to sail. All the icons are now colored in.
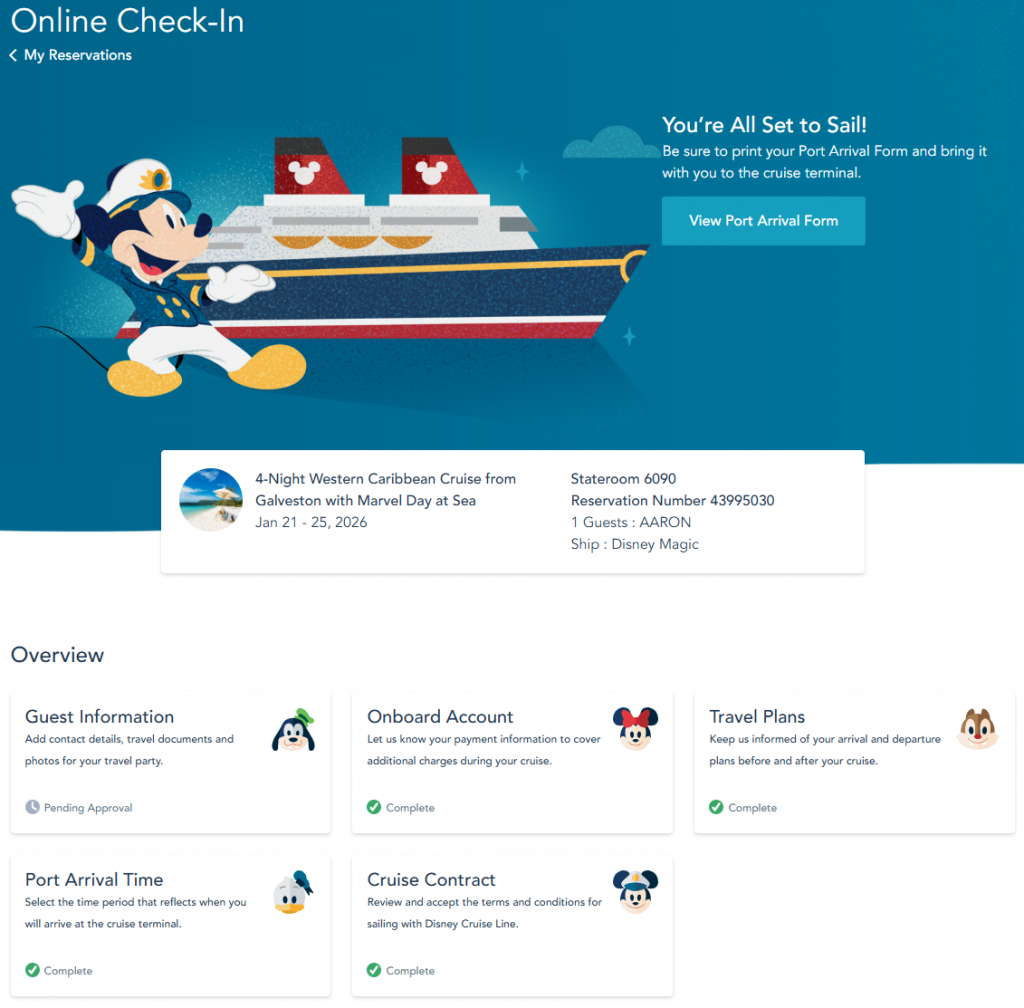
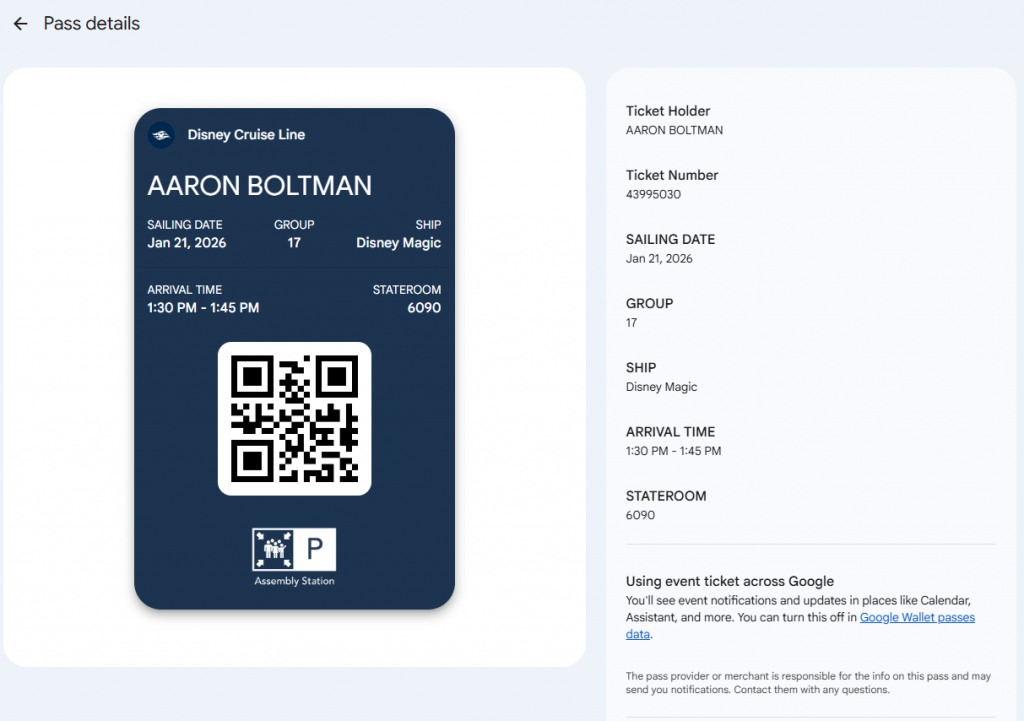
Here’s the Port Arrival Information.
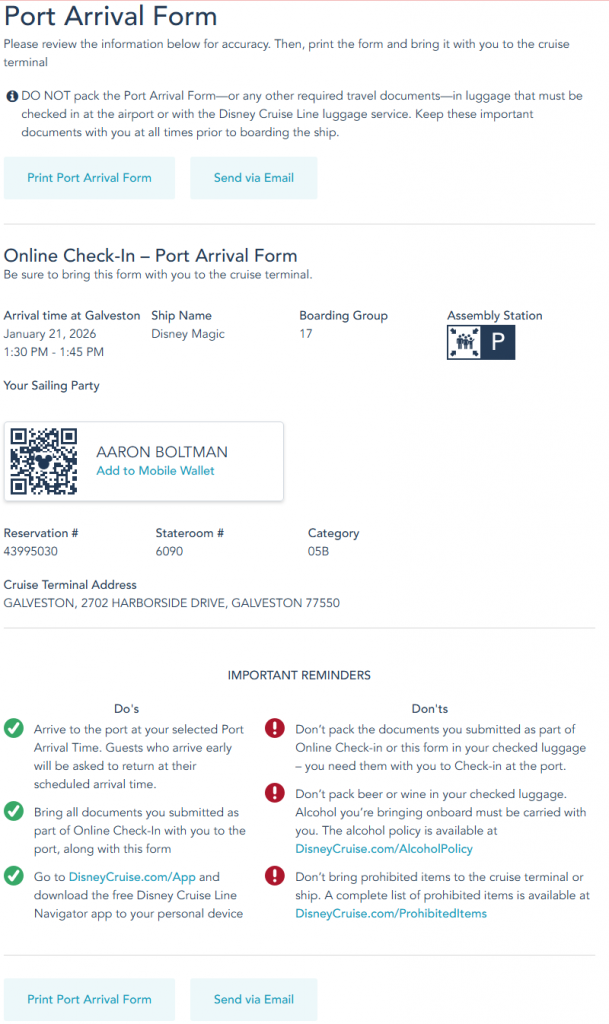
I asked for the Port Arrival form to be emailed to me, but it is exactly the same as the picture above.
When you click add to mobile wallet you it sends to to this page where it can be added to the digital wallet. (I am using Google, now Apple)
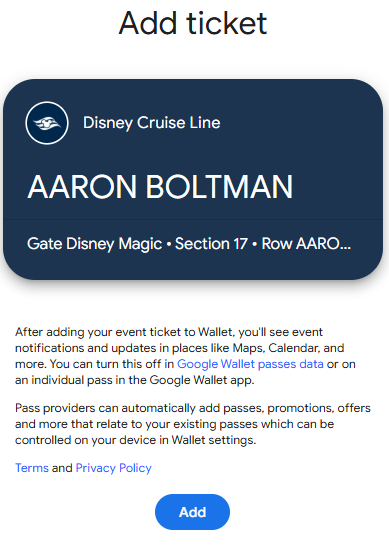
And after it is added…